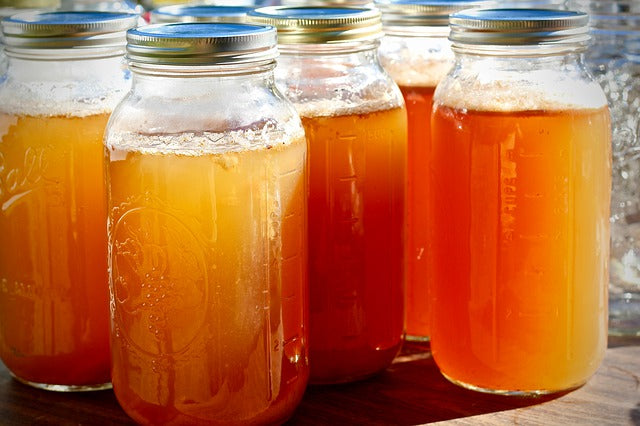
Making Apple Cider Vinegar is As Easy As Apple Pie
Apple cider vinegar is the most popular type of vinegars in the natural health community. It is touted to have all sorts of benefits, many of which are supported by science. This includes weight loss, reduced cholesterol, lower blood sugar levels and improved symptoms of diabetes. It is also an ancient folk remedy, and has been used for various household and cooking purposes.

Here is a list of just some of its health benefits:
- Can kill many types of harmful bacteria
- Lowers blood sugar levels and fights diabetes
- Helps you lose weight and reduces belly fat
- Lowers cholesterol and improves heart health
- May have protective effects against cancer
- Balances the pH of your body and helps reduce acid reflux (this was my life saver when I had experienced bad heartburns during my pregnancies)
When buying apple cider vinegar, it is best to choose an organic, raw, and unfiltered one that looks murky and has a web-like appearance and the ‘mother’ still intact to get the most nutritional value. However, it’s also really easy to make your own using apple cores and peels, or whole apples! In fact, it’s easy as apple pie!
Here are the ingredients and supplies that you need to make apple cider vinegar:
- 1 L clean dry jar – to ensure you’re not introducing any bacteria other than what is naturally in the process. You can use any size jar. I like to use large pickle jars with a wide mouth.
- Organic apple scraps or roughly chopped apples (you can keep the cores) – enough to fill your jar ¾ of the way full
- 2 tbsp organic cane sugar – this will be eaten up in the fermentation process, so don’t worry about it impacting your blood sugar level
- 2 cups filtered water
- Fermentation weight or small glass jar filled with clean rocks – to ensure the apples stay submerged and avoid mold from growing
- Cheesecloth or coffee filter – to prevent bugs or dust from getting into your jar during the fermentation process, while the gases that are produced from the process gets released.
- Rubberband – to secure the cheesecloth or coffee filter
- Strainer
- Another 1 L clean dry jar – you won’t need this until after the first fermentation step is complete, which takes 3 weeks.
Now that you all the supplies, follow the easy steps below and you’ll have fresh apple cider vinegar in no time! Well okay, you do have to wait a few weeks, but I promise it’s worth it!

Instructions:
- Place your chopped apples or apple scraps into one of the clean dry jars until jar is ¾ full.
- Pour cane sugar into filtered water and stir it until sugar is dissolved.
- Pour sugar water over apples until they are completely submerged. Add a little more water if needed to make sure the apples are covered.
- Weigh down the apples with a fermentation weight or small glass jar filled with small rocks. Any apples that are exposed to air can result in mold.
- Cover jar with cheesecloth or coffee filter and secure with rubber band.
- Store in a dark place at room temperature, such as a kitchen cabinet, for 3 weeks. Check on it every few days to ensure apples are still submerged and no mold is growing.
- Strain out apples into the second clean jar after 3 weeks. Compost the scraps.
- Cover jar with cheesecloth or coffee filter again, and put jar back in a dark spot for another 3-4 weeks,
- Stir jar every few days.
- When vinegar is complete, you’ll notice a dark floating web. This is the ‘mother’. You can either keep it or remove it.
- Once vinegar has reached the tartness you like, put an airtight lid on it and start using it!
- For your next batch of apple cider vinegar, you can place a small amount of your leftover vinegar from the first batch to speed up the fermentation process.
