Homemade Yogurt Recipe
Making yogurt at home is one of the easiest things I have done in my kitchen. It’s nearly foolproof and you don’t need a lot of equipment. Better yet, you can continue to use the yogurt you’ve made as the starter for the next batch as long as there is no odd taste. You can also freeze yogurt, and still use it as a starter once it is thawed.
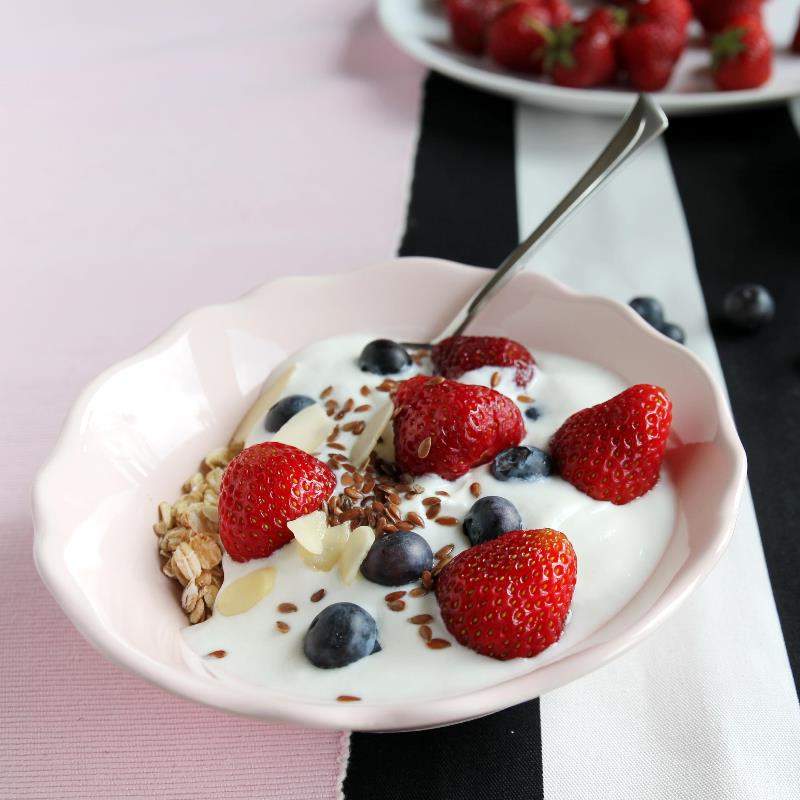
In addition to saving money, by making my own yogurt, I have been able to avoid skim milk powder, a common ingredient found in dairy products which contains oxidized cholesterol, which is not healthy. I am also able to use organic whole milk, which has more health benefits than 2% or skim milk.
The recipe below is taken from The Kitchn.
Ingredients and Equipment:
- 2 L of organic whole milk. I use organic goat’s milk, as it’s easier to digest than cow’s milk.
- 1/2 cup commercial plain yogurt with active bacteria cultures as a starter.
- Pot with a heavy lid like a Dutch oven (to keep the yogurt warm while the bacteria culture turns the milk into yogurt)
- Instant-read or candy thermometer (one that can clip to the side of the p)
- Wooden spoon
- Measuring cup
- Small bowl
- Whisk
- Oven with light or a picnic cooler with hot water bottle
Directions:
- Heat the milk. Pour the milk into the pot and set over medium to medium-high heat. Warm the milk to right below boiling, about 200°F. Stir the milk gently as it heats to make sure the bottom doesn’t scorch and the milk doesn’t boil over. This heating step is necessary to change the protein structure in the milk so it sets as a solid instead of separating.
- Cool the milk. Let the milk cool until it is just warm to the touch, 112°F to 115°F. Stir occasionally to prevent a skin from forming. (Though if one does form, you can just stir it back in). You can help this step go faster by placing the pot in an ice water bath in your sink and gently stirring the milk.
- Thin the yogurt with milk. Scoop out about a cup of warm milk with a measuring cup and add the yogurt. Whisk until smooth and the yogurt is dissolved in the milk.
- Whisk the thinned yogurt into the milk. Pour the thinned yogurt into the warm milk while whisking gently. This inoculates the milk with the yogurt culture.
- Transfer the pot to the (turned-off) oven. Cover the pot with the lid and place the whole pot in a turned-off oven — turn on the oven light or wrap the pot in towels to keep the milk warm as it sets (ideally around 110°F, though some variance is fine).
- Wait for the yogurt to set. Let the yogurt set for at least 4 hours or as long as overnight — the exact time will depend on the cultures used, the temperature of the yogurt, and your yogurt preferences. The longer yogurt sits, the thicker and more tart it becomes. If this is your first time making yogurt, start checking it after 4 hours and stop when it reaches a flavor and consistency you like. Avoid jostling or stirring the yogurt until it has fully set.
- Cool the yogurt. Once the yogurt has set to your liking, remove it from the oven. If you see any watery whey on the surface of the yogurt, you can either drain this off or whisk it back into the yogurt before transferring to containers. Whisking also gives the yogurt a more consistent creamy texture. Transfer the yogurt to storage containers, cover, and refrigerate. Homemade yogurt will keep for about 2 weeks in the refrigerator.
- Your next batch of homemade yogurt. Once you start making your own yogurt, you can use some of each batch to culture your next batch. Just save 1/2 cup to use for this purpose. If after a few batches, you notice some odd flavors in your yogurt or that it’s not culturing quite as quickly, that means that either some outside bacteria has taken up residence in your yogurt or that this strain is becoming weak. As long as this batch still tastes good to you, it will be safe to eat, but go back to using some store-bought commercial yogurt in your next batch.