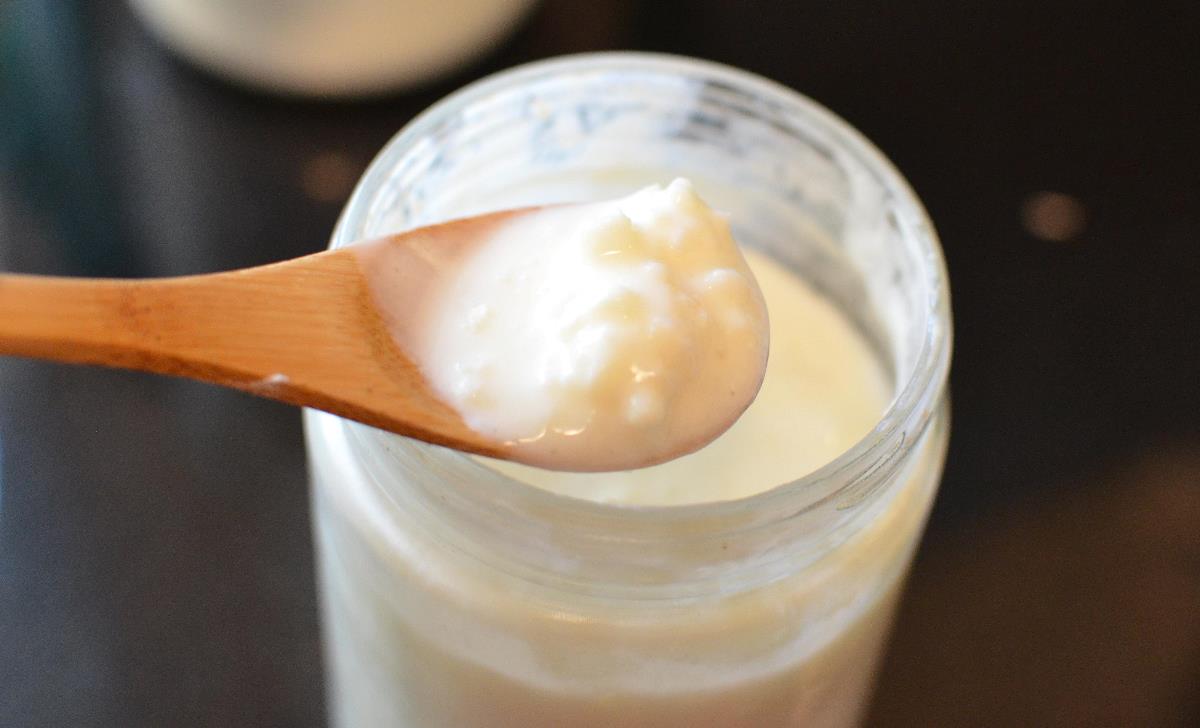
How to Make Milk Kefir in 3 Simple Steps
I have been making yogurt at home for a while, but I recently discovered the great benefits of milk kefir and how easy it is to make! It can be done in 3 easy steps!
Milk kefir is tangy and creamy, and has an even greater diversity of good bacteria than yogurt. My son loves to drink it just as is, and we also use it in smoothies and in our cereal.
What’s more, the kefir grains (which are actually tiny cell structures that house the bacteria and yeast that ferment the kefir) that are used to make milk kefir can be reused over and over again, as long as they stay healthy. They will also multiply over time so you can share them friends and family!
Check out this recipe, which has been adapted from the kitchn.
Ingredients
- 1 cup raw or pasturized goat’s milk, preferably whole milk. Cow’s milk can also be used, but I recommend goat’s milk as it’s easier to digest.
- 1 teaspoon active kefir grains. If you bought your kefir grains in a dried form, rehydrate them by soaking them in fresh milk at room temperature. Change the milk every 24 hours until the grains begin to culture the milk and make kefir. It may take 3 to 7 days for the kefir grains to become fully active.
Equipment
- 1 pint-sized glass jar
- Cheesecloth, paper towel, or clean napkin
- Rubberband
- Small strainer (preferably plastic, but metal is ok)
- Storage container with lid
Note: Avoid using metal equipment during and after brewing, especially if there is prolonged contact with the keifr. This can impact the flavour of the kefir and weaken the grains over time.
Directions
- Combine the milk and the grains in a jar, and cover the jar with cheesecloth, a paper towel, or a clean napkin and secure it with a rubber band.
- Store the jar at room temperature for 12-48 hours away from direct sunlight to let it ferment. When the milk has thickened, tastes tangy and has a yeasty aroma, it’s ready. This usually takes about 24 hours at average room temperatures. The warmer the temperature, the less time it will take. If your milk hasn’t fermented after 48 hours, strain out the grains and try again in a fresh batch of milk (this can happen when using new kefir grains or grains that have been refrigerated, or when refreshing dried kefir grains). Don’t worry if the kefir separates into a solid layer and milky layer (which happens if the kefir has fermented too long). Just stir the kefir to mix it, and continue onto the next step. If this happens regularly, start checking your kefir sooner.
- Strain out the kefir grains over the container you’ll use to store the kefir. Stir the grains into a fresh batch of milk and allow to ferment again. This way, you can make a fresh batch of kefir approximately every 24 hours. To take a break from making kefir, place the grains in fresh milk, cover tightly, and refrigerate for up to a month (after a few weeks, this milk will also be converted to kefir, which can also be consumed). The prepared milk kefir can be used immediately, or covered tightly and stored in the refrigerator for up to a week.

